Defending the garden: Protective and soil prep strategies
Many gardeners in Napa County have observed a rise in ground squirrel activity in their neighborhoods. If you are concerned about how this may impact your vegetable gardening efforts, there is no need to lose hope. After careful research and planning, I found an effective method for managing ground squirrel issues and am pleased to share tips for others facing similar situations.
Effective pest management is essential for maintaining healthy raised bed gardens. According to recommendations from the University of California Integrated Pest Management, installing galvanized hardware cloth with ½-inch to ¾-inch mesh beneath raised beds is a proven method for preventing burrowing pests from accessing roots.

Galvanized hardware cloth offers two significant advantages for home gardeners. First, it is chew-proof, which means burrowing pests cannot gnaw through it. Second, it is rust resistant, ensuring the material remains durable and effective over time. These features make it a reliable barrier for protecting vegetable beds from unwanted burrowing pests.
Galvanized hardware cloth installed beneath vegetable beds should not impede plant root growth. Unlike large shrubs or trees, vegetables are generally not in the beds long enough for their roots to be impacted by the underlying mesh.
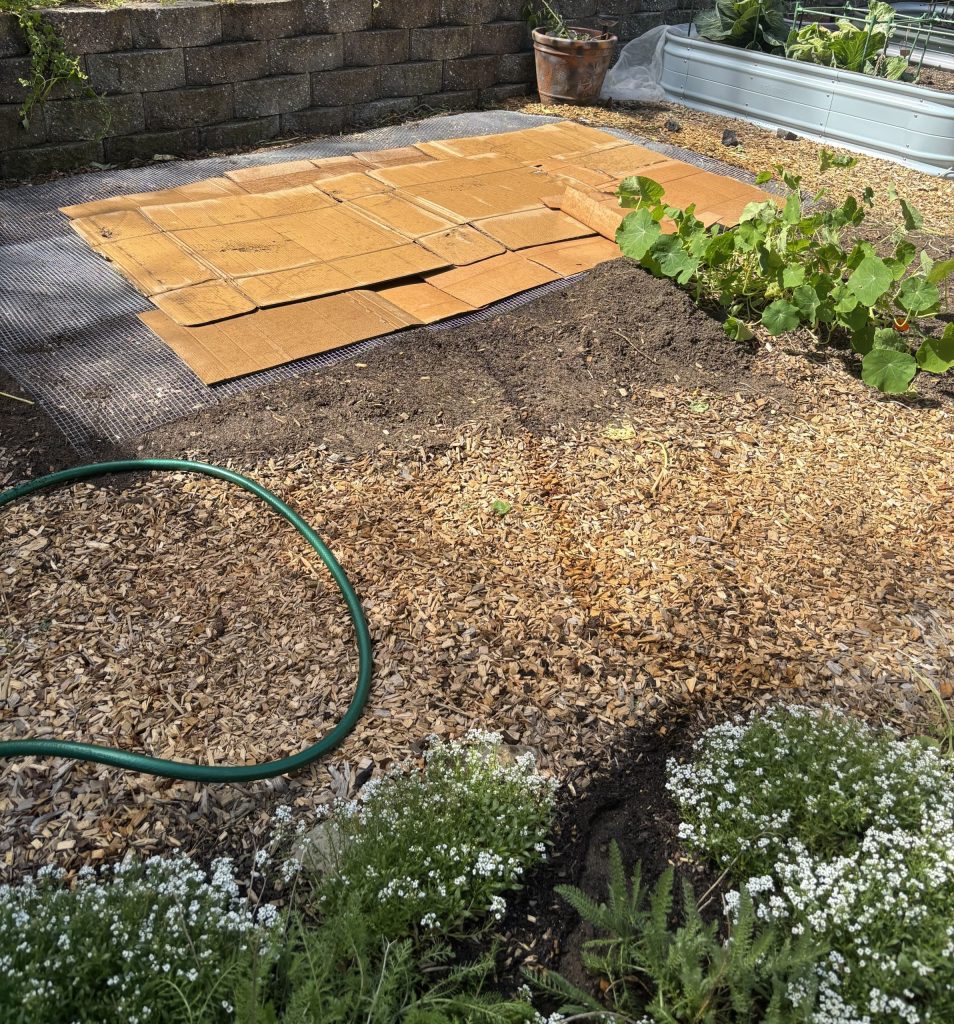
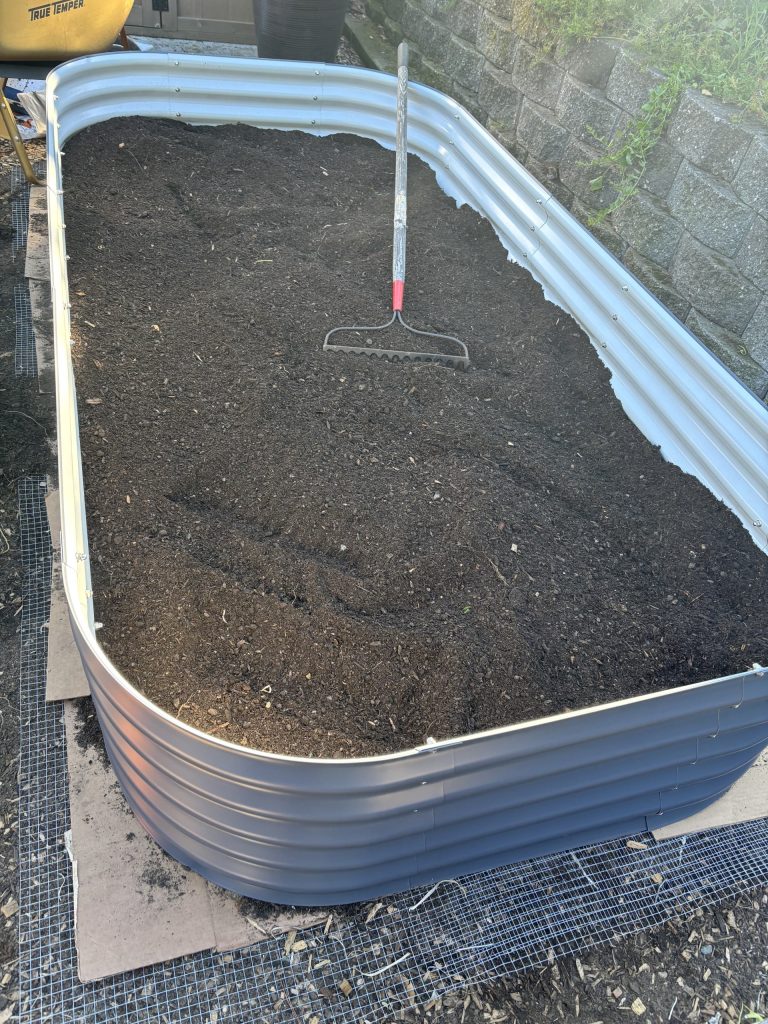
I implemented this pest-control method with the construction of my 4-foot by 8-foot raised bed. Using 4-foot-wide hardware cloth, I cut two pieces measuring 4 feet by 9 feet and overlapped them in the middle to cover a 5-foot by 9-foot section, then secured the edges with garden staples. This method allowed me to cover an area larger than the raised bed, ensuring burrowing pests could not gain access to my vegetables by pushing up the sides of the hardware cloth within the bed.
Before constructing the raised bed, I rounded up some cardboard, removed any tape and placed overlapping sheets of the cardboard directly over the hardware cloth. Cardboard serves as an effective weed barrier, helping to prevent unwanted weed growth under the bed. After placing the cardboard, I wet it down to create a seal and keep it in place.
Over time, the cardboard will break down and decompose, adding valuable organic matter to the soil. This process enhances the soil’s nutrient profile, improves water retention and increases aeration. By using cardboard as a weed barrier, you not only combat weeds but also contribute to the overall health and quality of your soil. Who wouldn’t want to tackle weeds and improve the soil’s condition and structure at the same time?
High-quality soil is essential for the success of any crop. Additionally, the importance of sunlight cannot be overstated, so choose a garden spot that gets at least six hours of sun per day.
In my own garden, I reused soil from mounds previously cultivated with nasturtiums. While filling the raised bed, I intentionally left the nasturtium roots in the soil. When you are harvesting a crop or removing a plant, cut plant stems just below the soil surface and leave the roots behind to decompose. This process adds organic matter and nutrients to the soil, enhancing soil health and improving moisture retention. Beneficial soil organisms, such as bacteria and fungi, thrive in this environment, further supporting a healthy garden ecosystem and feeding new plants.
Prior to amending and fertilizing my existing soil, I had it tested. That’s how I learned it contained high sodium levels and insufficient calcium. To correct this imbalance, I added gypsum. Gypsum reduces the sodium and supplies calcium, which helps prevent tomatoes from developing blossom-end rot.
To improve soil texture, moisture retention and nutrient profile, I incorporated the following amendments: 1 cubic foot of compost; 2 cubic feet of fir bark soil conditioner containing 15% aged chicken manure; and 1.5 cubic feet of a rose and plant mix containing peat moss, alfalfa meal, bat guano and kelp meal.
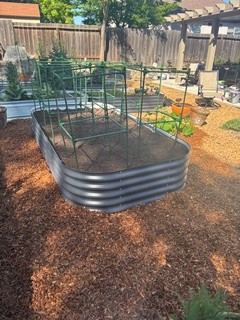
To further prepare this bed for my tomato seedlings, I added feather meal for nitrogen to promote early growth, and a granular tomato fertilizer for proper NPK ratios. Finally, I topped off the soil with an organic mulch to help maintain moisture, increase nutrient content and suppress weeds.
The fertilizer instructions suggested repeat applications throughout the growing season. I prefer organic fertilizers and use monthly both a granular (slow release) and a liquid (immediate release) type, to ensure a steady supply of nutrients. When the tomatoes start flowering, I’ll stop the nitrogen feedings to shift the plant’s energy to vegetable production. I’m looking forward to a bountiful harvest.
Library Talk: Join UC Master Gardeners of Napa County and Napa County Library for a talk on “Home Composting: Questions and Troubleshooting” on Thursday, June 4, from 7 to 8 p.m. via Zoom. You’ve got questions? We’ve got answers! Register to receive the Zoom link.
Workshop: Join UC Master Gardeners of Napa County for a workshop on “Summer Rose Care” on Saturday, June 13, from 10 to 11:30 a.m. via Zoom. Keep your roses healthy all summer long with research-based information on how and why you should prune your roses, what to do about disease and bugs, when to fertilize and more. Register to receive the Zoom link.
Help Desk: The Master Gardener Help Desk is available to answer your garden questions. Use our online Plant Problem Help Form or email us at [email protected]. Include your name, address, phone number and a brief description of the problem. You can also visit us in person on Mondays and Fridays from 10 a.m. until 1 p.m. at the University of California Cooperative Extension Office, 1710 Soscol Avenue, Suite 4, Napa.